
Those who use MS Outlook or Gmail would agree with us on this when we say creating and designing an email from scratch is a very time-intensive process. On top of that, if the same message has to be delivered to multiple people separately at different times, then the email content has to be stored and copied on the new email.
Email templates come to rescue in such cases. These templates are pre-designed email formats with creative graphics. There are multiple third-party email templates available for free but require you to register on their website first.
GoFounders has made this easy for its founders to create and store templates which can be used as many times as possible without starting from scratch. These templates get stored in My Invitations section on the GoFounders website.
On this article, we will explain how to use My Invitations tab for sending invitations.
Step 1: Visit GoFounders website and enter login credentials. If you want to register yourself on GoFounders, then click here.
Step 2: Click on “My Invitations” tab present on the left panel of the site.
Step 3: The opened page would show options to –
- Create email templates
- Select (pre-designed) Email templates
- Enter personal details
- Enter Invitees information
- Check previously sent invitation details
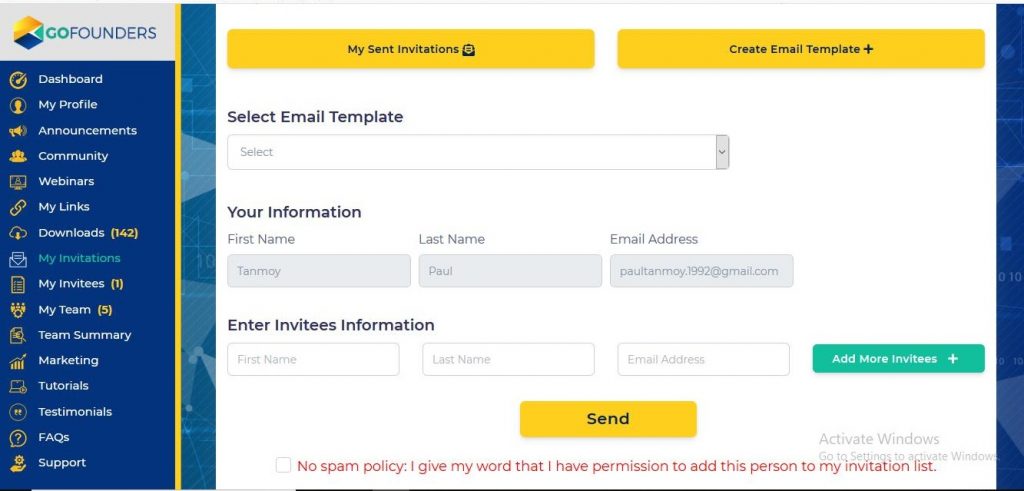
Step 4: Suppose you are new to using Email templates on GoFounders, then first click on “Create Email Template” option available on the top right (as shown above).
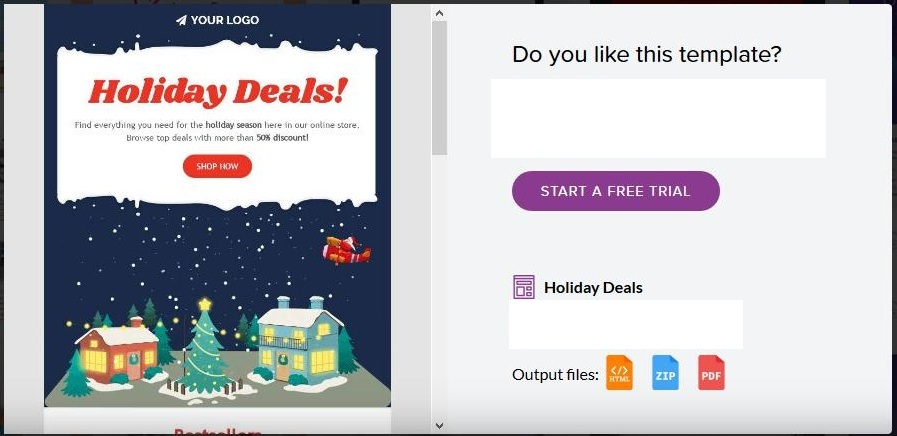
Step 5: Once you enter the email template creation page, you need to select “Add Email Templates” option available on the top.

Step 6: This option will take you to an Email drafting page where you can design the template with message and images as you want to have.
Make sure to update a unique title each time you save the template.
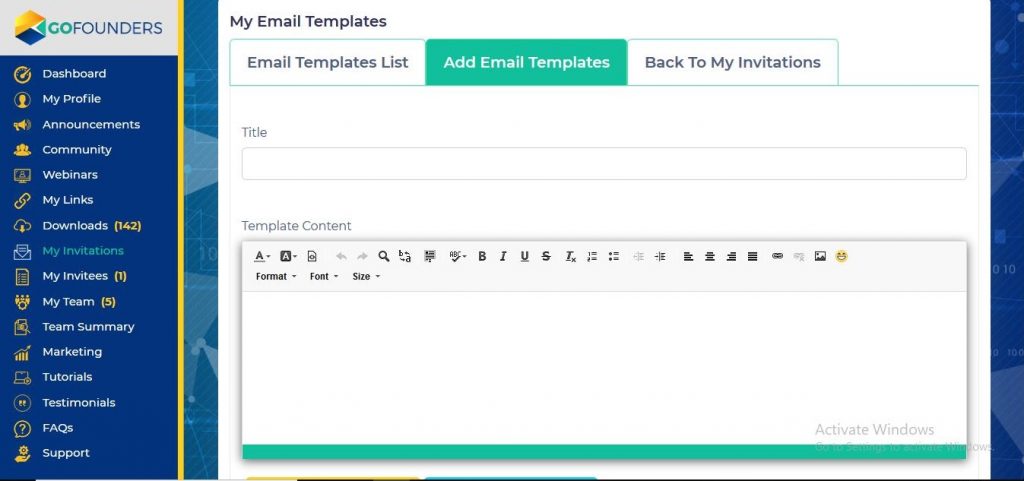
Step 7: Save the email template by clicking on the “Add” button.
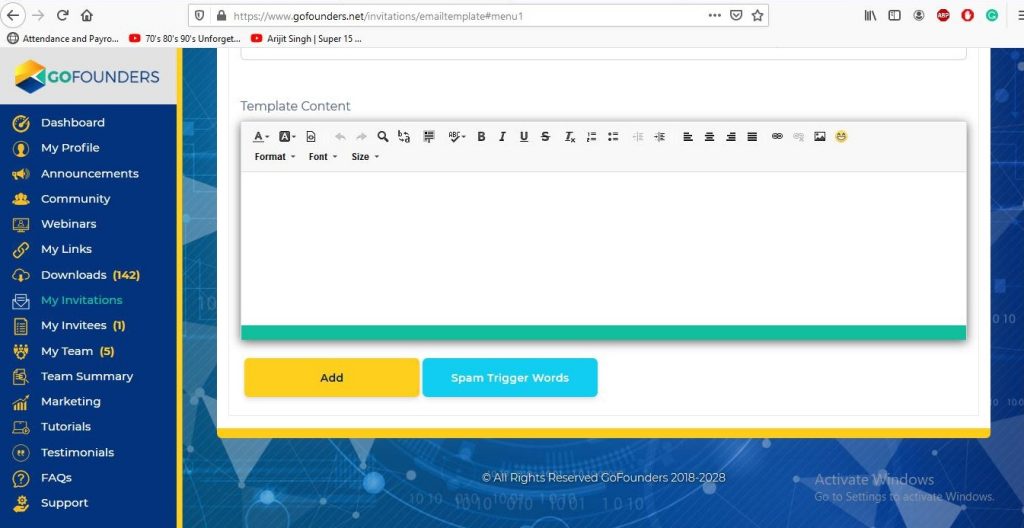
Step 8: Also, do not forget to use “Spam Trigger Words” as shown above, which when clicked displays a list of keywords that can trigger spam filtration and block your messages from being delivered. Avoid using these keywords in your email or email title for positive delivery at the user end.
Step 9: Once you are done with creating the template and have clicked on Add button, the tool will take you to “Email Templates List” where you can see the email template created by you. Here you can View, Edit or Delete a template as per requirement.
Step 10: Click on “Back to My Invitations” to go to the first page, as shown under Step 3.
Step 11: Select your email template from the dropdown available under “Select Email Template” option on this page. It gives you an option to “Preview” the template which you want to send to the selected person.Step 12: After selecting the desired email template, you need to fill invitee details under “Enter Invitees Information” where you need to enter First name, Last name and the email ID of the invitee. You can add a total 25 invitees by clicking “Add more Invitees” option available in this section as shown below.
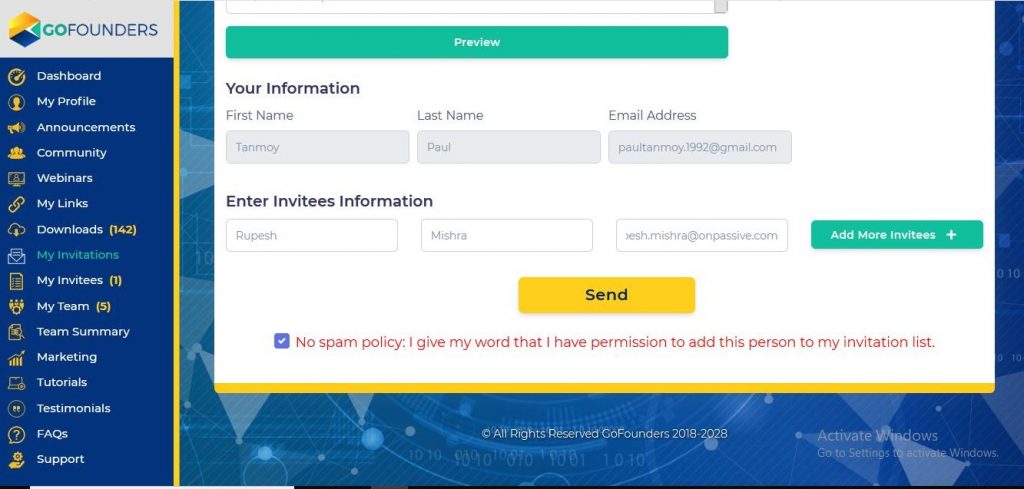
Step 13: Please click on “No Spam Policy” highlighted in Red just below the Send button once you have filled all invitees’ details. Unless the radio button is checked, you won’t be able to send emails to the invitees.
Step 14: After hitting the Send button, your email will be delivered as a personalized invitation to all the invitees as selected. The email body will by default contain invitation link, sender’s name and email ID.
Step 15: In case you want to know whom you have sent invitations so far, then you click in “My Sent Invitations” button on the top, as shown in Step 3. The invitees’ list will be displayed as First name, Last name, Email ID and the date when email was sent. This list can be downloaded as a CSV file by clicking on “Export CSV File” button on the top right of this page.
Pro Note: The created email templates can be used only for external contacts such as “Prospects” and should be used for invitation purpose only. At a time only 25 invitations can be sent via My Invitations tab. This tool can be used only by the GoFounders members, i.e. its founders and cannot be accessed by external users.

Joan Wilken
4 years ago
Keith Lynch
4 years ago
Jordan Garbrandt
4 years ago